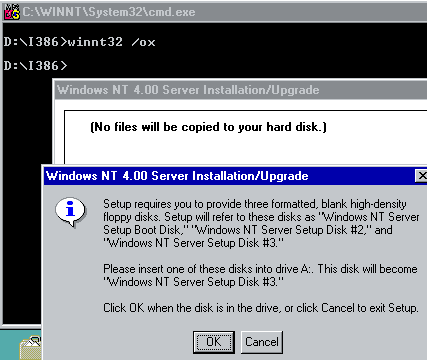
To use the Emergency Repair Disk we created in this article, you need to boot with the three NT setup disks that can be created by running winnt32:

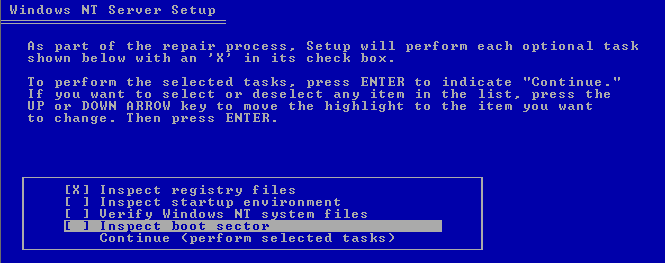
If you don’t have an NT box, you can use the NT distribution cd from MS-DOS or a Windows 95/98 command prompt and run winnt /ox. Boot with floppy #1, put floppy #2 in when requested, and push R to repair your damaged installation. You will be asked what kind of things you want to recover:
We just want to inspect the registry files this time, since we know we nuked our SCSI controller configuration (see this artice). Put diskette #3 in when requested. After a couple of enters, you will be asked if you have an Emergency Repair Disk:
Push enter. You will be prompted to put the diskette in:
You now have the option to verify your OS install:
We don’t want to do that in this case. Be careful with this, because there may be incompatibilities between the NT distribution and other patches you have applied since then. We’ll just press ESC:
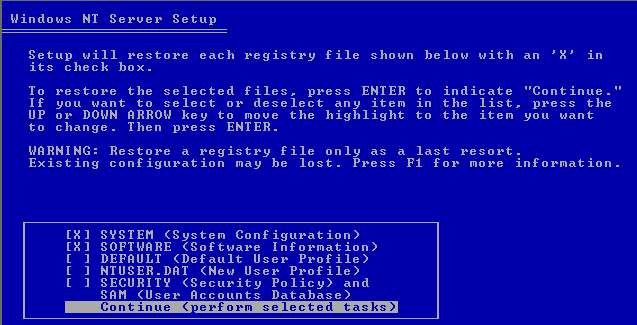
We only want the system and software settings to be restored. When the restore is done, you will see this screen:
Press enter to reboot, and the system and software settings are set back to the time of the Emergency Rescue Disk.


